Chocolate wax is a popular choice for many individuals looking to achieve smooth and radiant skin. Its ability to effectively remove hair while leaving the skin soft and glowing has made it a sought-after option. While salon treatments can be expensive, making wax at home provides a cost-effective and convenient solution. In this guide, we will walk you through the step-by-step process of creating your own wax, along with essential tips, FAQs, and precautions.
Table of Contents
Ingredients:
- 1 cup sugar
- 1 small spoon citric acid
- 1 small spoon cocoa powder
- 1 cup water
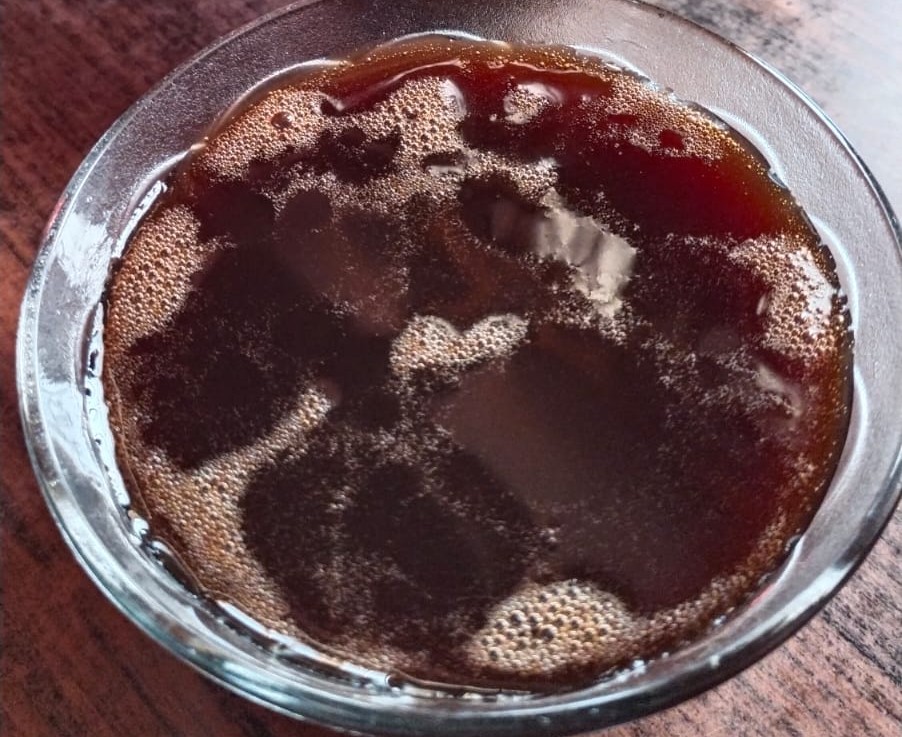
Method for Homemade Chocolate wax :
- In a pan, combine sugar, citric acid, and water.
- Place the pan on the stove and stir continuously.
- Gradually add cocoa powder to the mixture.
- Allow the mixture to boil until the sugar dissolves completely.
- Reduce the heat and continue stirring while adding cocoa powder.
- After approximately 2-3 minutes, take a small amount of the wax mixture and test it by rubbing it between your thumb and finger to check if it forms two threads.
- If the threads don’t form, continue boiling and retest after a short interval.
- Once the threads (string) form, turn off the heat and let the wax cool slightly.
- Transfer the wax to a container and store it.
How to Use Chocolate wax :
- Gently warm the wax before application.
- You can heat it using a wax heater or by placing the container in a larger vessel with hot water.
- Apply the lukewarm wax to the desired areas using a spatula.
- Press a waxing strip or cloth over the applied wax.
- Pull the strip swiftly in the opposite direction of hair growth to remove the wax and hair.
Tips and Precautions:
- Conduct a patch test before applying the wax to larger areas to ensure there is no adverse reaction.
- Stir the wax mixture continuously after adding cocoa powder to prevent it from burning.
- Substitute citric acid with lemon juice for a natural alternative.
- Ensure the wax is at a comfortable temperature before application to avoid skin burns.
- Store the prepared wax in an airtight container in a cool, dry place.
FAQs:
- Is chocolate wax suitable for all skin types? Chocolate wax is generally suitable for most skin types. However, it’s recommended to do a patch test to ensure no allergic reactions occur.
- Can I use chocolate wax on sensitive areas like the face? While this wax can be used on the face, it’s advisable to be cautious, especially if you have sensitive skin. Always perform a patch test first.
- How long can I store homemade chocolate wax? Prepared wax can be stored for up to a year if kept in an airtight container and stored in a cool, dry place.
- Can I use this wax on larger body areas like legs and arms? Yes, choco wax can be used on larger body areas such as legs and arms. Ensure the wax is of the right consistency for effective hair removal.
Conclusion:
Creating homemade chocolate wax offers a convenient and affordable way to achieve smooth and radiant skin in the comfort of your own home. By following the provided steps and tips, you can enjoy the benefits of wax hair removal while avoiding the cost and inconvenience of salon treatments. Remember to exercise caution and perform a patch test to ensure the wax is suitable for your skin type.


Hello there! I simply would like to offer you a huge thumbs up for the excellent info youve got here on this post. I will be coming back to your website for more soon.